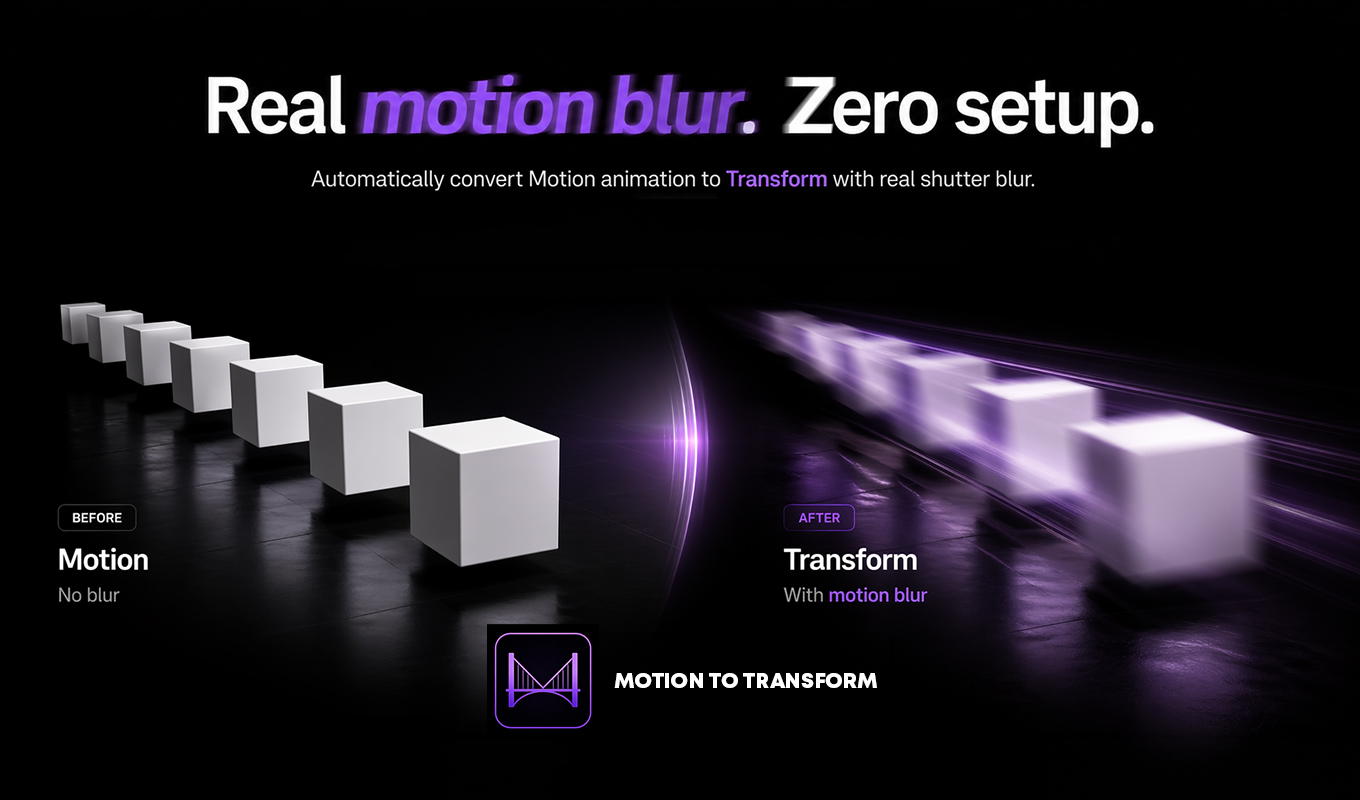
Why editors use Motion first
Motion controls are always close at hand. Editors often use them because they are fast for position, scale, rotation, and anchor-point animation during rough cuts, social edits, and graphic timing work.
That speed becomes a problem when the finishing workflow needs a Transform-based motion blur look.
Why Transform matters for motion blur
The Transform effect gives editors a separate transform stack that can be used for polished movement and shutter-angle-style blur workflows. It is especially useful for quick zooms, graphic hits, and motion-heavy social edits.
The annoying part is rebuilding animation by hand after it already exists in Motion controls.
Where Motion to Transform fits
Motion to Transform is made for that bridge. It transfers common Motion animation into Transform controls so the editor keeps timing and can continue finishing with a cleaner Transform workflow.
It is not a look pack. It is a workflow tool for avoiding repetitive keyframe rebuilding.
Workflow
Step-by-step workflow
- 01
Build the timing quickly in Motion
Animate the clip or graphic using Motion controls if that is the fastest way to block the edit.
- 02
Select the item that needs finishing
Choose the clip or graphic where the Motion animation should move into Transform.
- 03
Transfer the Motion keyframes
Run Motion to Transform and choose whether to copy the animation or copy and remove the original Motion keyframes.
- 04
Adjust Transform and shutter angle
Use the Transform controls for the finishing pass and adjust shutter angle according to the amount of blur you want.
- 05
Check the result in motion
Preview the animation at playback speed. Motion blur should support the movement, not hide the edit or make the graphic unreadable.
Practical notes
- Use Motion for speed, Transform for finishing when motion blur matters.
- Keep the transfer workflow simple: one animation, one result, then adjust.
- Do not add heavy blur just because the control exists. The movement still has to read cleanly.
Common mistakes
- Rebuilding the same position and scale keyframes manually in Transform.
- Using too much shutter angle and making the movement feel smeared.
- Forgetting to check anchor-point behavior after a transfer.
FAQ
Questions editors usually ask
Why not animate everything directly in Transform?
You can. But many editors naturally rough out movement in Motion because it is fast and familiar. The plugin is for moving that existing work into Transform when finishing requires it.
Does Motion to Transform create motion blur by itself?
It prepares the animation for a Transform-based motion blur workflow. You still control the final look through Transform settings such as shutter angle.
Is this only for social edits?
No. It is useful anywhere Premiere Pro animation timing is already built in Motion and needs to move into Transform for cleaner finishing.
Make this workflow faster in Premiere Pro
Transfer Motion animation into Transform workflows so you can keep timing and finish with motion blur faster.