Start with the shape of the song
Before placing shots, listen for sections: intro, build, drop, chorus, breakdown, bridge, and ending. Those moments decide the structure of the edit more than individual beats do.
If the piece is short, you can mark only the big changes. If it is a reel, promo, or music video, add a rhythm map so the small timing decisions are visible while you work.
Strong beats, weak beats, and accents
Not every beat has the same editorial value. A kick, snare, vocal phrase, bass change, or visual accent can matter more than a perfectly regular grid.
Use strong beats for obvious cuts, weak beats for subtle replacements, and accents for graphics, speed changes, camera movement, or transition timing.
Use markers as a guide, not a cage
A marker map keeps the timeline readable. It should make decisions faster, but the footage still controls the edit. If a gesture lands better two frames after a beat, use the better visual timing.
The best music edits usually mix exact cuts, delayed cuts, held shots, and silent gaps. That variation keeps the rhythm from feeling robotic.
Where Cut to Beat helps
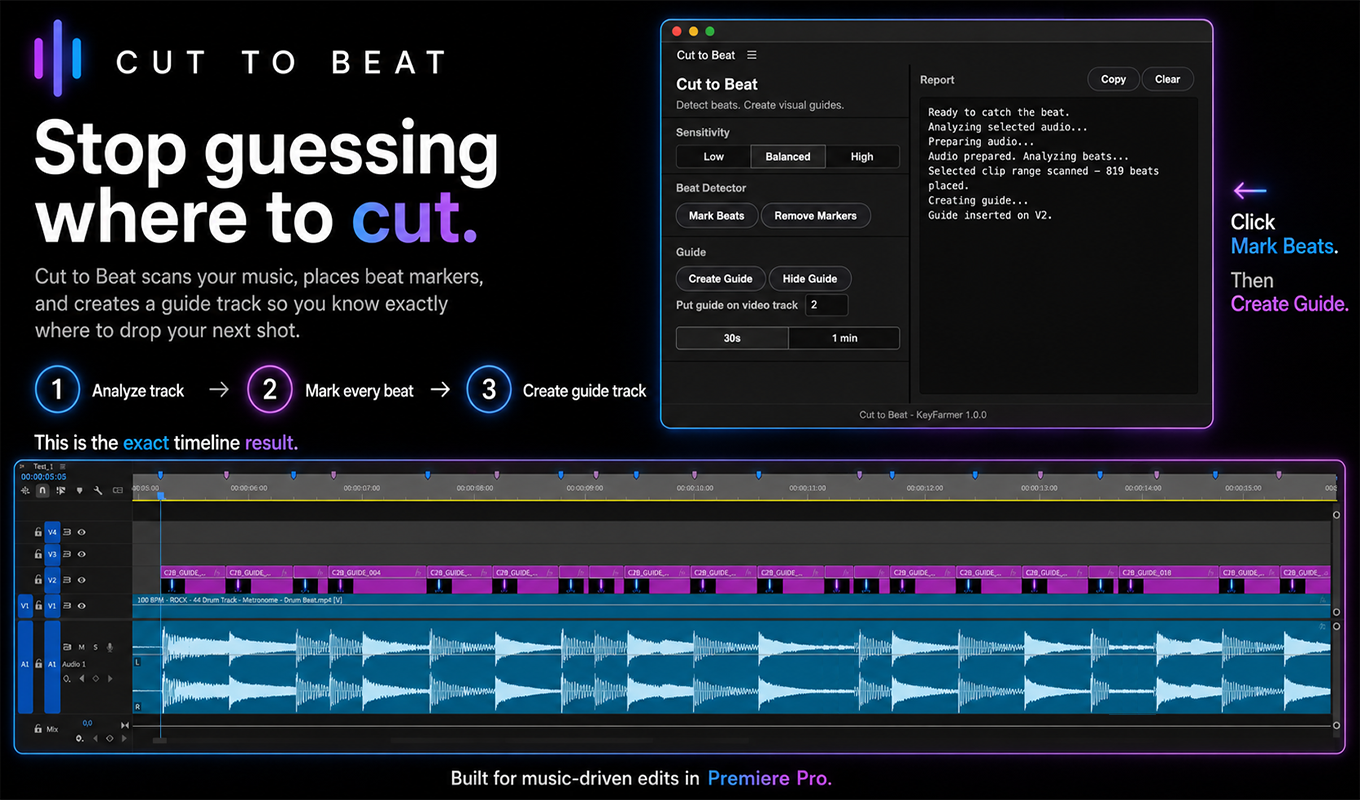
Cut to Beat is useful before the creative pass. It creates the timing references so you can spend more attention on shot choice, visual motion, and pacing.
For a fast social edit, you might create guide blocks and replace them with clips. For a polished promo, you might use the markers only as a rhythm layer while building a more varied cut.
Workflow
Step-by-step workflow
- 01
Prepare the music
Use the final or near-final music track before building the cut. If the track was remixed or time-stretched, export a clean WAV and bring it back into Premiere Pro.
- 02
Mark major sections
Add manual markers for drops, breaks, chorus entries, and ending points. These markers define the edit shape.
- 03
Create rhythm references
Use manual markers for short passages or Cut to Beat for a full rhythm pass. Keep the marker density readable.
- 04
Place anchor shots first
Put your strongest shots on the most important accents, then fill the spaces between them with supporting B-roll or detail shots.
- 05
Vary the pacing
Cut on some beats, hold through others, and let visual motion carry transitions. Rhythm should create momentum, not predictability.
Practical notes
- Start with the music structure before making frame-level cut decisions.
- Use guide blocks for rough assembly, then replace or trim them once the footage starts to speak.
- B-roll often works best when motion starts before the beat and lands on the beat.
- Transitions feel cleaner when the visual action and the musical accent support each other.
Common mistakes
- Cutting on every beat until the edit feels like a metronome.
- Ignoring phrases and only following individual transients.
- Building the whole edit before confirming the final music length.
- Letting guide blocks remain in control after the creative edit starts.
Related guides
Keep building the workflow
FAQ
Questions editors usually ask
Should every cut land exactly on a beat?
No. Exact cuts are useful, but an edit usually feels better when exact timing is mixed with holds, offsets, and visual movement.
What should I mark first?
Mark the big musical sections first, then add beat-level references where the edit needs tighter timing.
Is this different from just adding beat markers?
Yes. Beat markers prepare the timeline. Editing to the beat is the creative process of deciding which markers matter and how the footage should respond.
Make this workflow faster in Premiere Pro
Detect beats, create Premiere Pro markers, and build visual guide tracks for faster rhythm-based editing.